
Table of Contents
To get started using Private Access within Global Secure Access, go to https://entra.cmd.ms (sign in with global administrator account or account with required permissions: https://learn.microsoft.com/en-us/entra/global-secure-access/reference-role-based-permissions)
Intro
This article is part of a series. Navigate to the parent article using this link: Microsoft Global Secure Access – Private Access – Christoffer Klarskov Jakobsen – Microsoft Architect
Onboard tenant
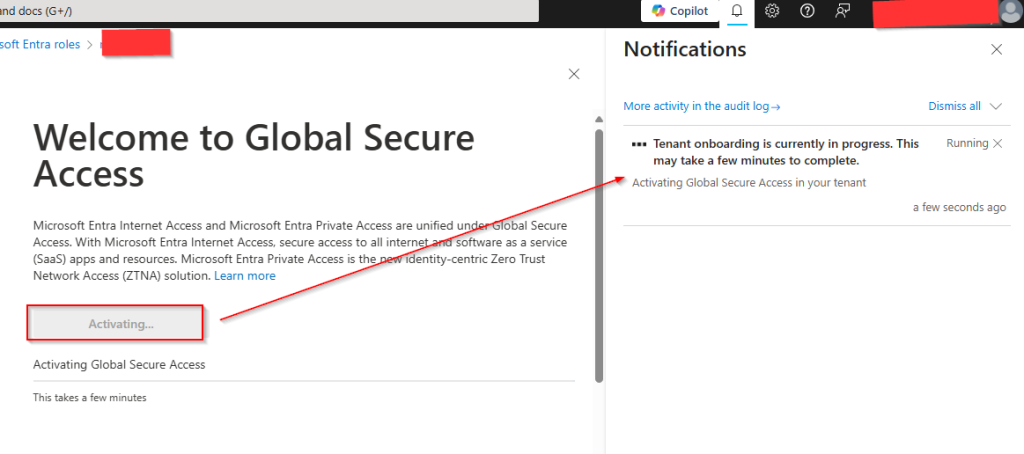
Navigate to Global Secure Access < Dashboard.
Now activate the tenant for the feature.
Session Management
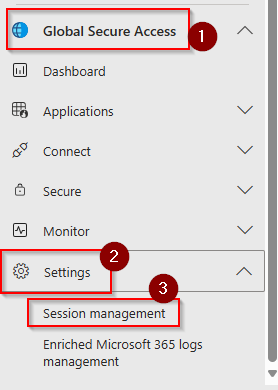
Navigate to Global Secure Access < Settings < Session Management
Enable universal tenant restrictions:

Enable Adaptive Access:

Enable forward traffic profile
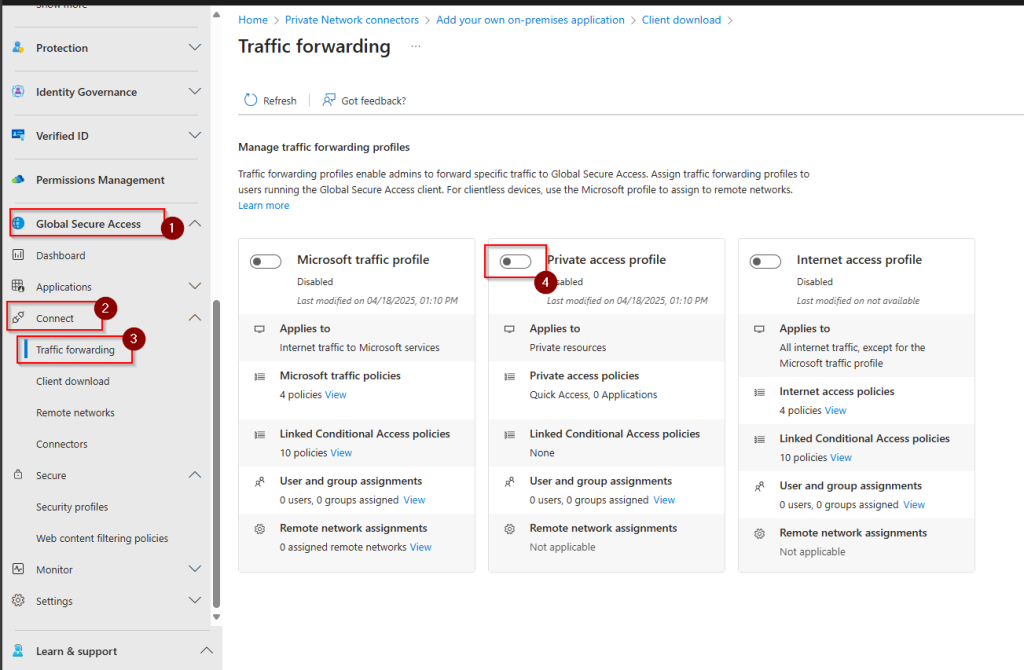
Navigate to Global Secure Access < Connect < Traffic forwarding
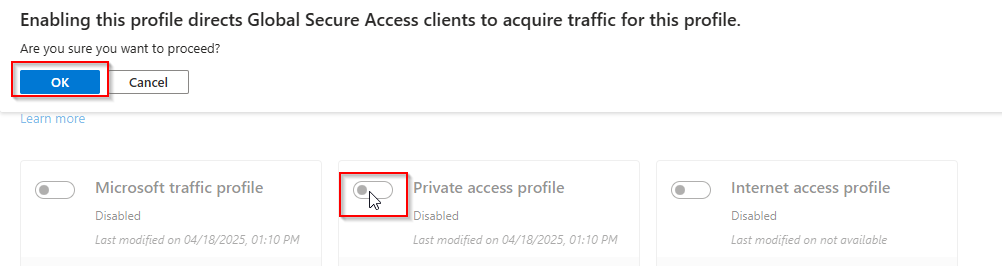
Enable the Private Access Profile:
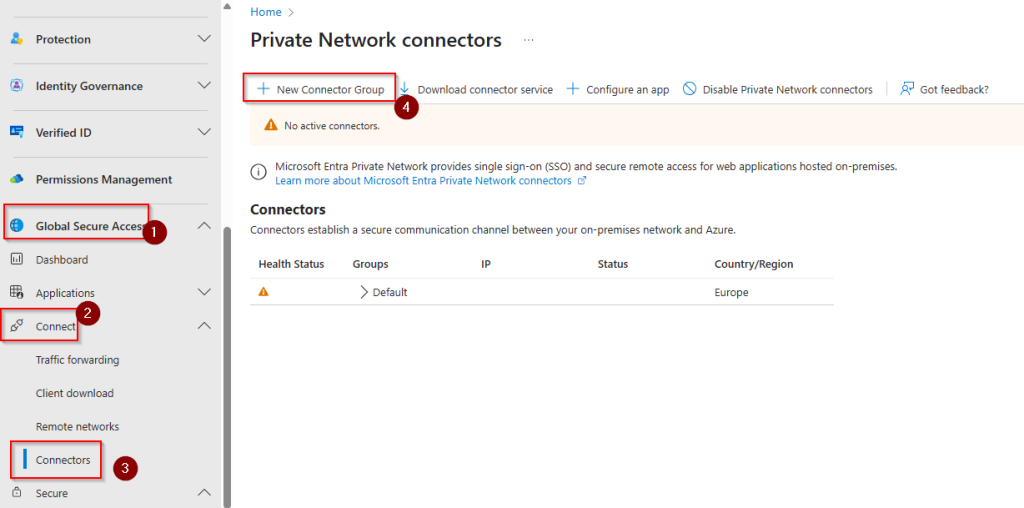
Connector groups and services
Create a new connector group. This group should contain two or more connector services (agents) very close to the applications you want to secure access to. If target application is hosted on-premises, you should create two or more member servers in this location and install the connector service software on these member servers.

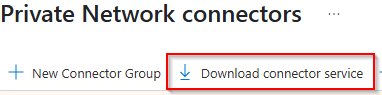
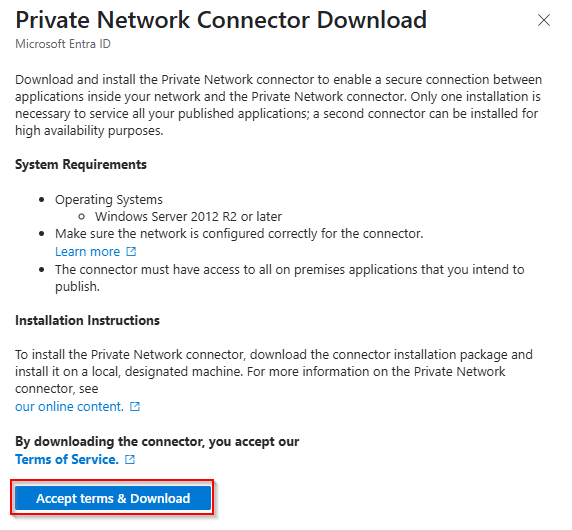
Download and install the software on the member servers you have prepared as connector service endpoints (agents).
I recommend you use a dedicated temporary Entra ID account with required permissions. This account can be deleted afterwards. This is because if you use an existing admin account and sign in multiple places at the same time, you will trigger suspicious activity (if you have Entra ID P2 license and identity protection is enabled) and end up having your admin account beeing locked out.
Install on all connector service member servers:
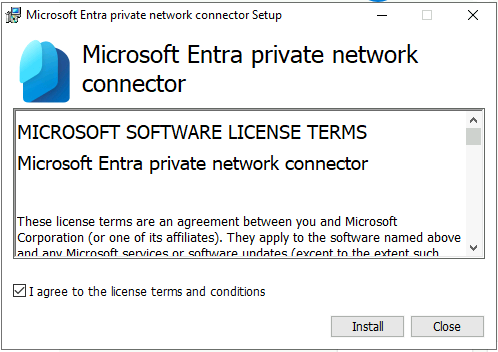
You will be asked to signin doing installation. Use the dedicated account mentioned in earlier step.
Restart after installation

Notice that installed connectors are placed in the default group.
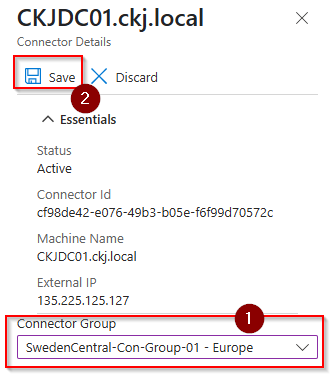
Select the newly installed connector.

Switch to the connector group you want the connector to be part of and then save. (for this demo I used the same server as I want to use later as target for my application. This is NOT recommended for production usage)
Assign groups to the traffic forwarding profile
Note that then you enabled the private access profile under traffic forwarding, you also needed to assign groups (or users but not recommended) to the profile (or use remote networks if your setup match the requirements for this)

Select the View and then assign a group to this profile (create a new security group in Entra ID with a name that follows your normal naming convention. This group should contain all users that will be subject for private access)
OBS: in this picture I add a user – this is only for demo purpose, it is recommended only to access groups.

Outtro
This concludes part 1 of the series. Use this link to navigate to the parent article that can take you to the other parts of the series: Microsoft Global Secure Access – Private Access – Christoffer Klarskov Jakobsen – Microsoft Architect
Comments