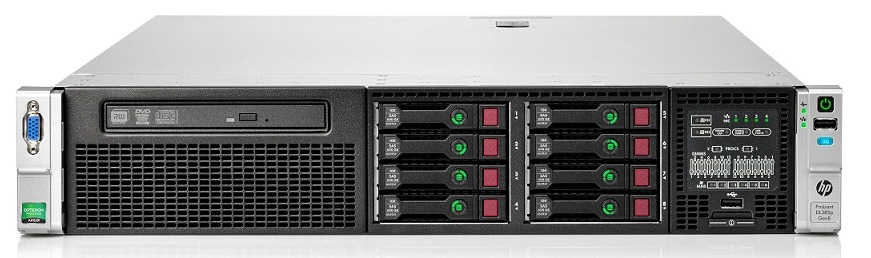
Azure Local - Homelab - Part 5 - deployment with local identities and KeyVault
- Intro
- Before starting the wizard — rename network adapters consistently
- Configure NTP on each node
- Going through the wizard
Intro
In this article I go through the wizard in the Azure Portal to deploy Azure Local on ny 2 Azure Local nodes that were freshly installed in the previous part 4.
The Azure Local nodes are installed with version 2604 that supports ditching the legacy Active Directory in favor of local identities using Azure KeyVault.
Since the wizard is pretty straight forward, I have not written a lot about each step. However, it is very important that every step in part 4 has been carried out, otherwise the deployment validation will fail.
HINT
Networking can be a challenge. Use this support article from the Azure Local team, to test your network without having to wait for rerun on the deployment validation: AzureLocal-Supportability
HINT
If you are deploying in a nested virtual lab, deployment settings validation may fail with a generic error caused by RDMA not being operationally supported by the virtual NIC. See Azure Local - Fix: RDMA validation failure during deployment settings validation for how to diagnose and resolve it.
Before starting the wizard — rename network adapters consistently
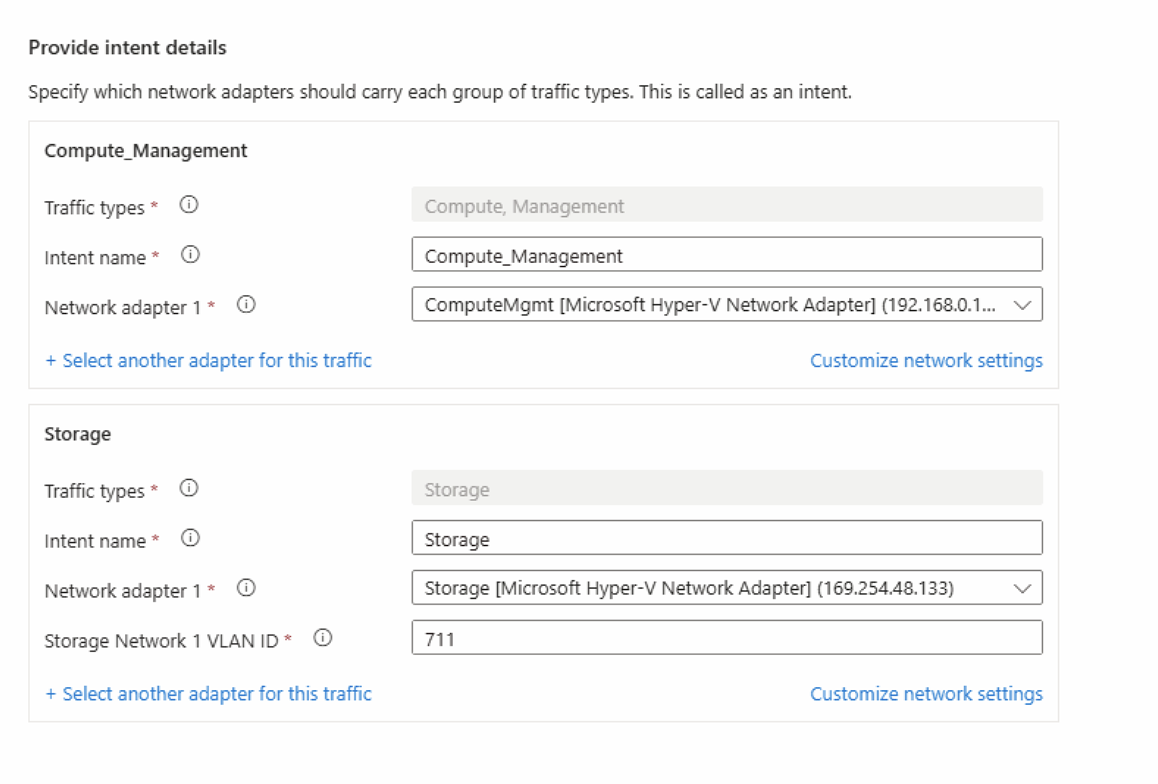
Before going through the deployment wizard, make sure every network adapter is renamed identically across all nodes. Azure Local uses adapter names to map network intents during deployment — if the names differ between nodes, validation will fail.
For example, if node 1 has an adapter named Ethernet and node 2 has the same physical adapter named Ethernet 2, the deployment will not be able to apply the network intent consistently.
On each node, open an elevated PowerShell session and rename the adapters to match:
# Example — adjust names to match your hardware layout
Rename-NetAdapter -Name "Ethernet"   -NewName "mgmt01"
Rename-NetAdapter -Name "Ethernet 2" -NewName "storage01"
Rename-NetAdapter -Name "Ethernet 3" -NewName "storage02"
Verify all nodes have identical adapter names before proceeding:
Get-NetAdapter | Select-Object Name, InterfaceDescription | Sort-Object NameThe output should be identical on every node.
Configure NTP on each node
Deployment validation checks time synchronization across nodes. In a virtual lab environment the default NTP configuration is sometimes insufficient and can cause validation to fail. Run these commands on each node to point it at a reliable NTP source and force a resync:
w32tm /config /manualpeerlist:"pool.ntp.org" /syncfromflags:manual /update
Restart-Service w32time
w32tm /resync /force
w32tm /stripchart /computer:pool.ntp.org /samples:3 /dataonly
The last command outputs a time offset chart. Confirm all nodes show a small and consistent offset before proceeding.
Going through the wizard
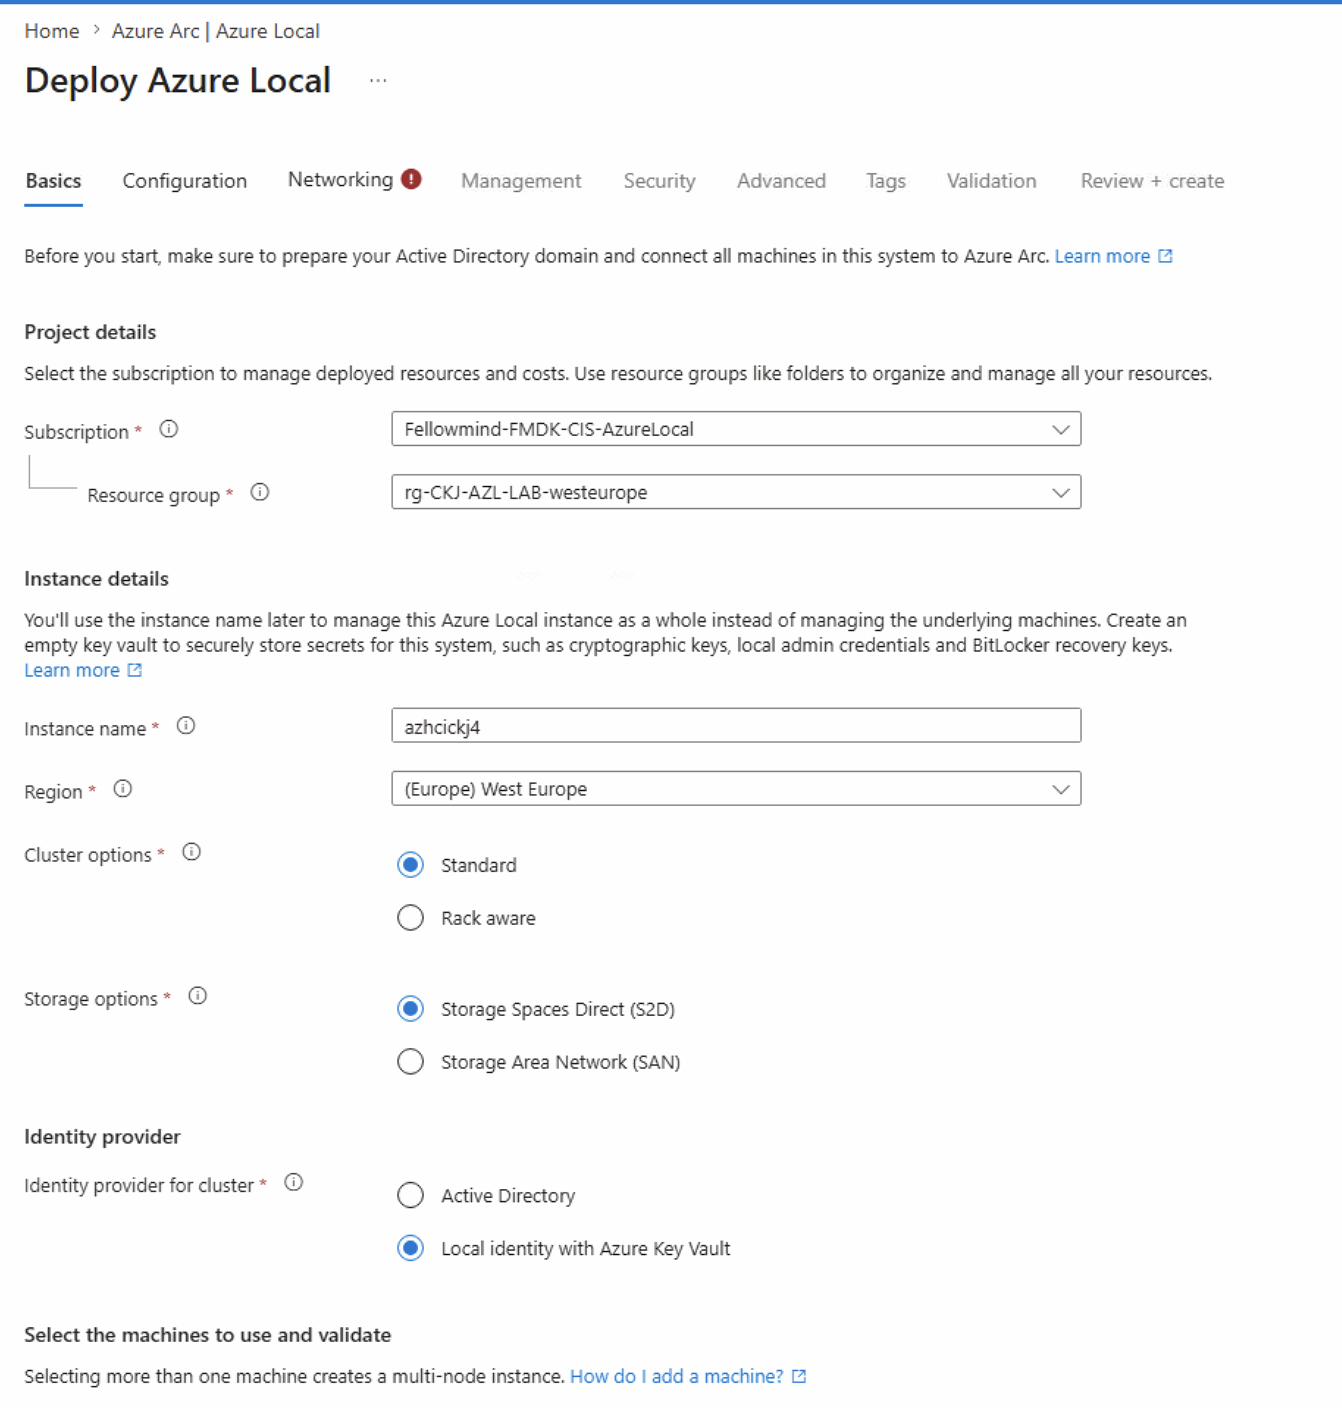 2.
2.
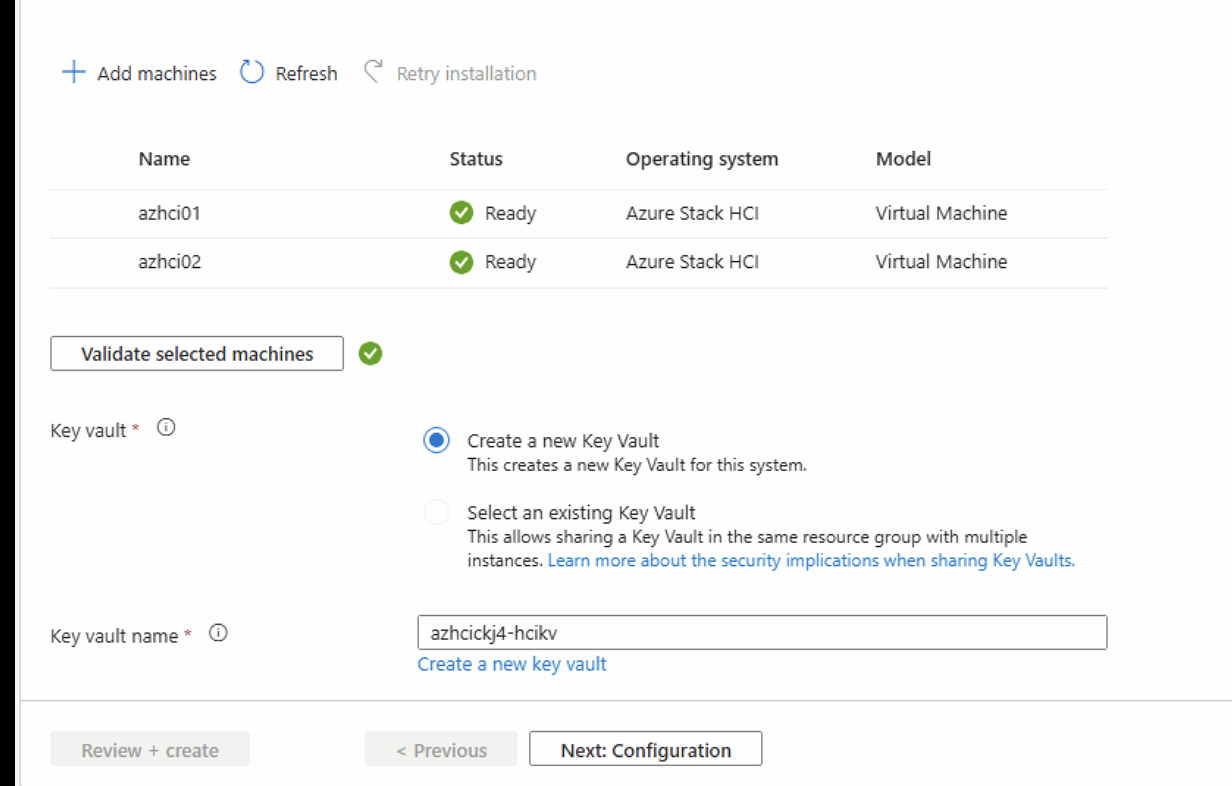 3.
3.
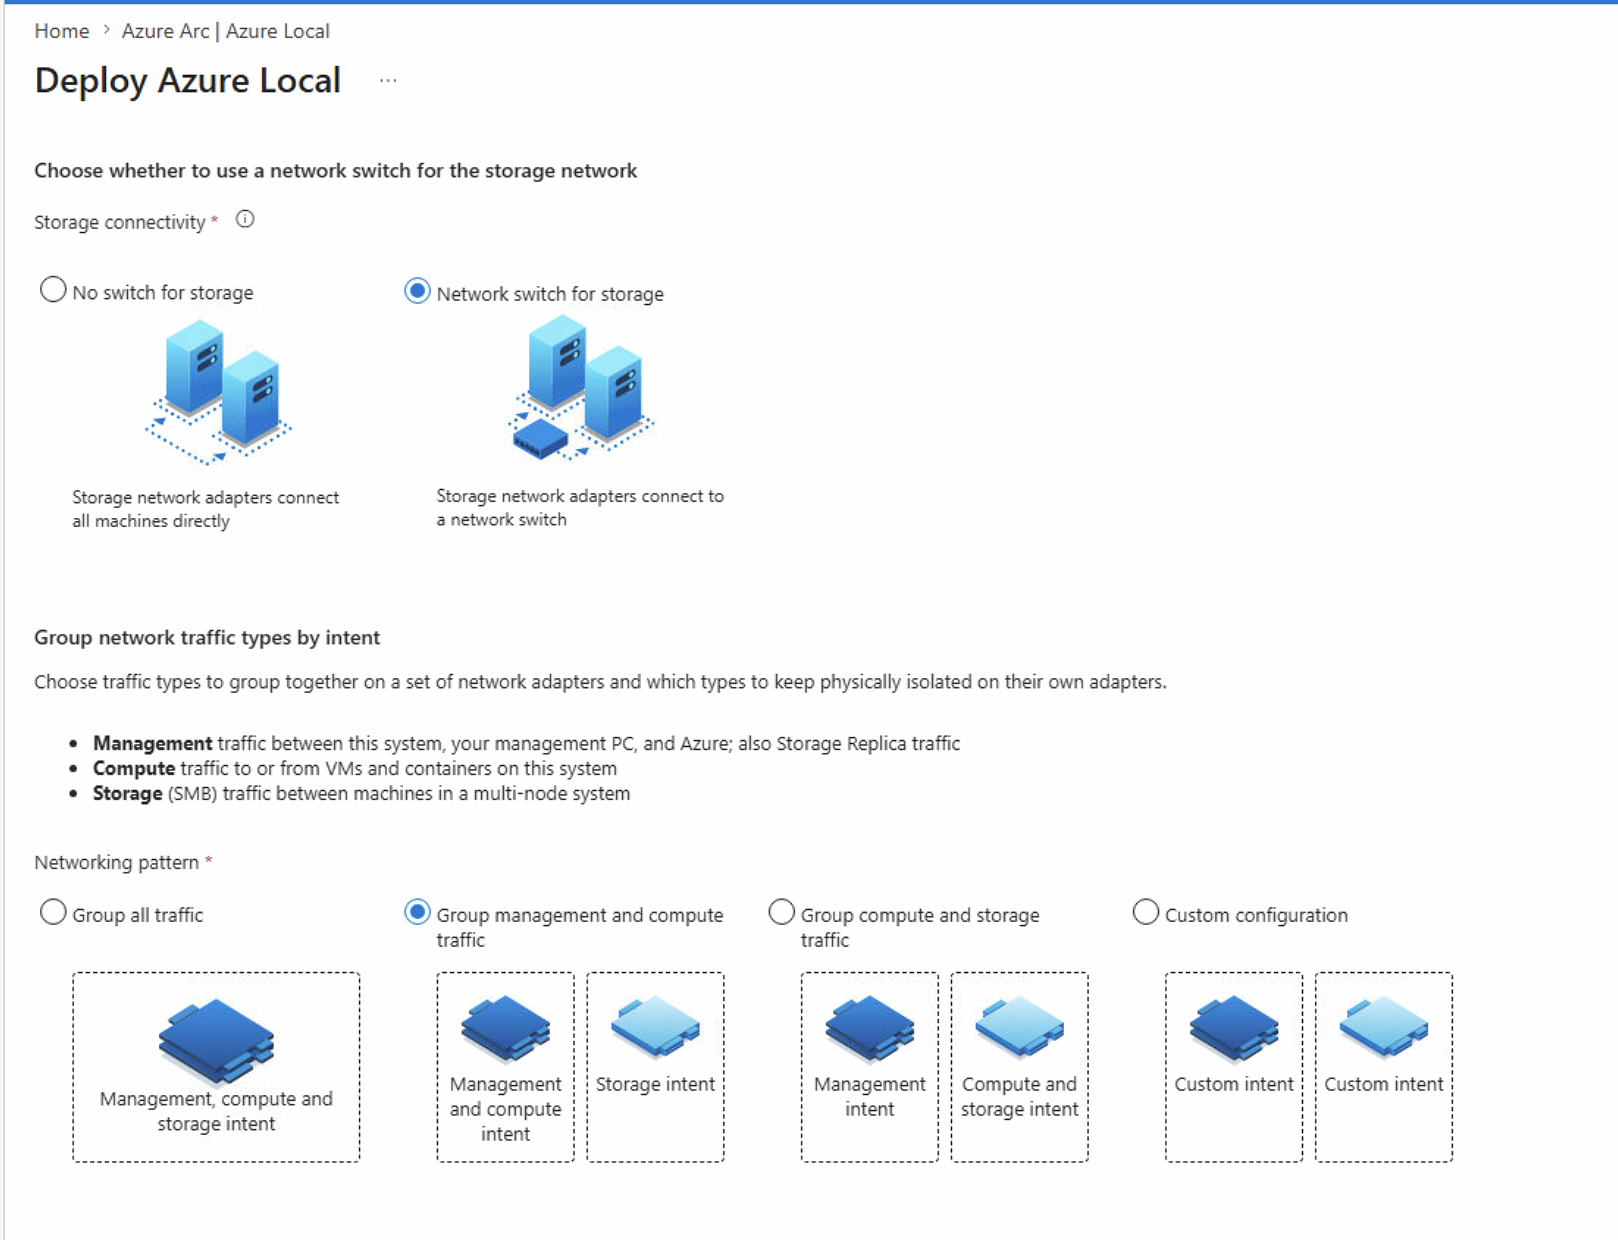
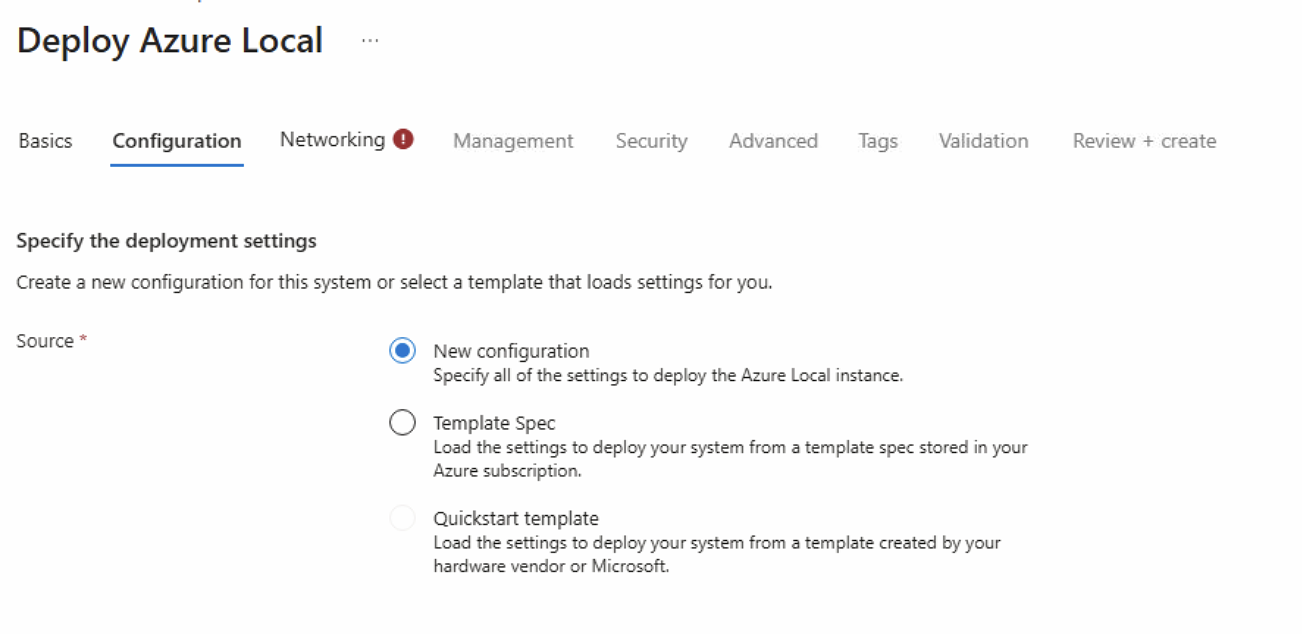 4. Note I have selected “Network switch for storage” and grouped compute and management, with separate storage
 5.
5.
 6.
6.
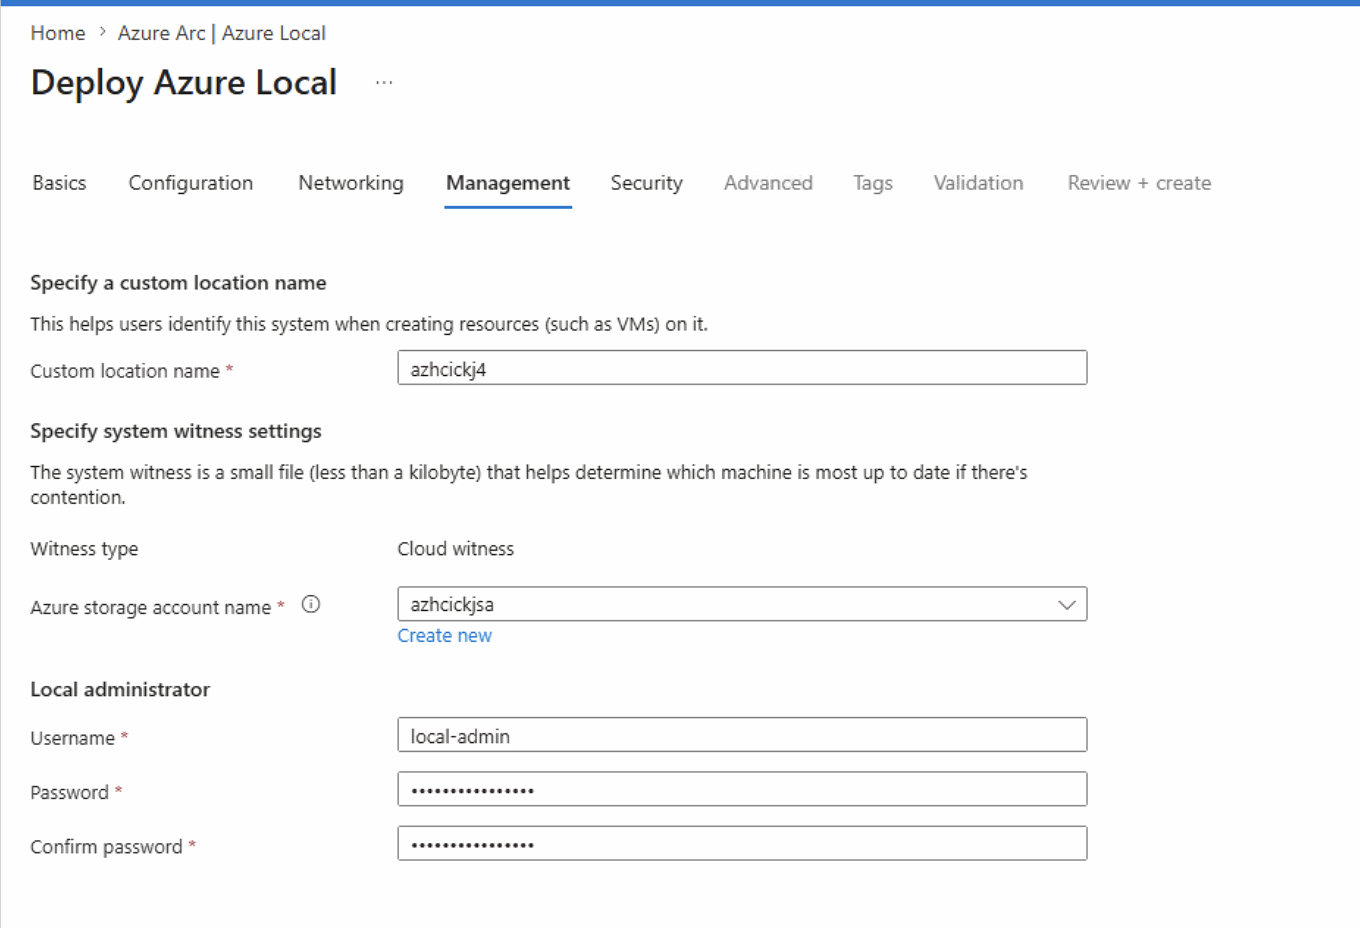
 7. Very important: the username and password must exist on every Azure Local node, otherwise deployment validation will fail
 8.
8.
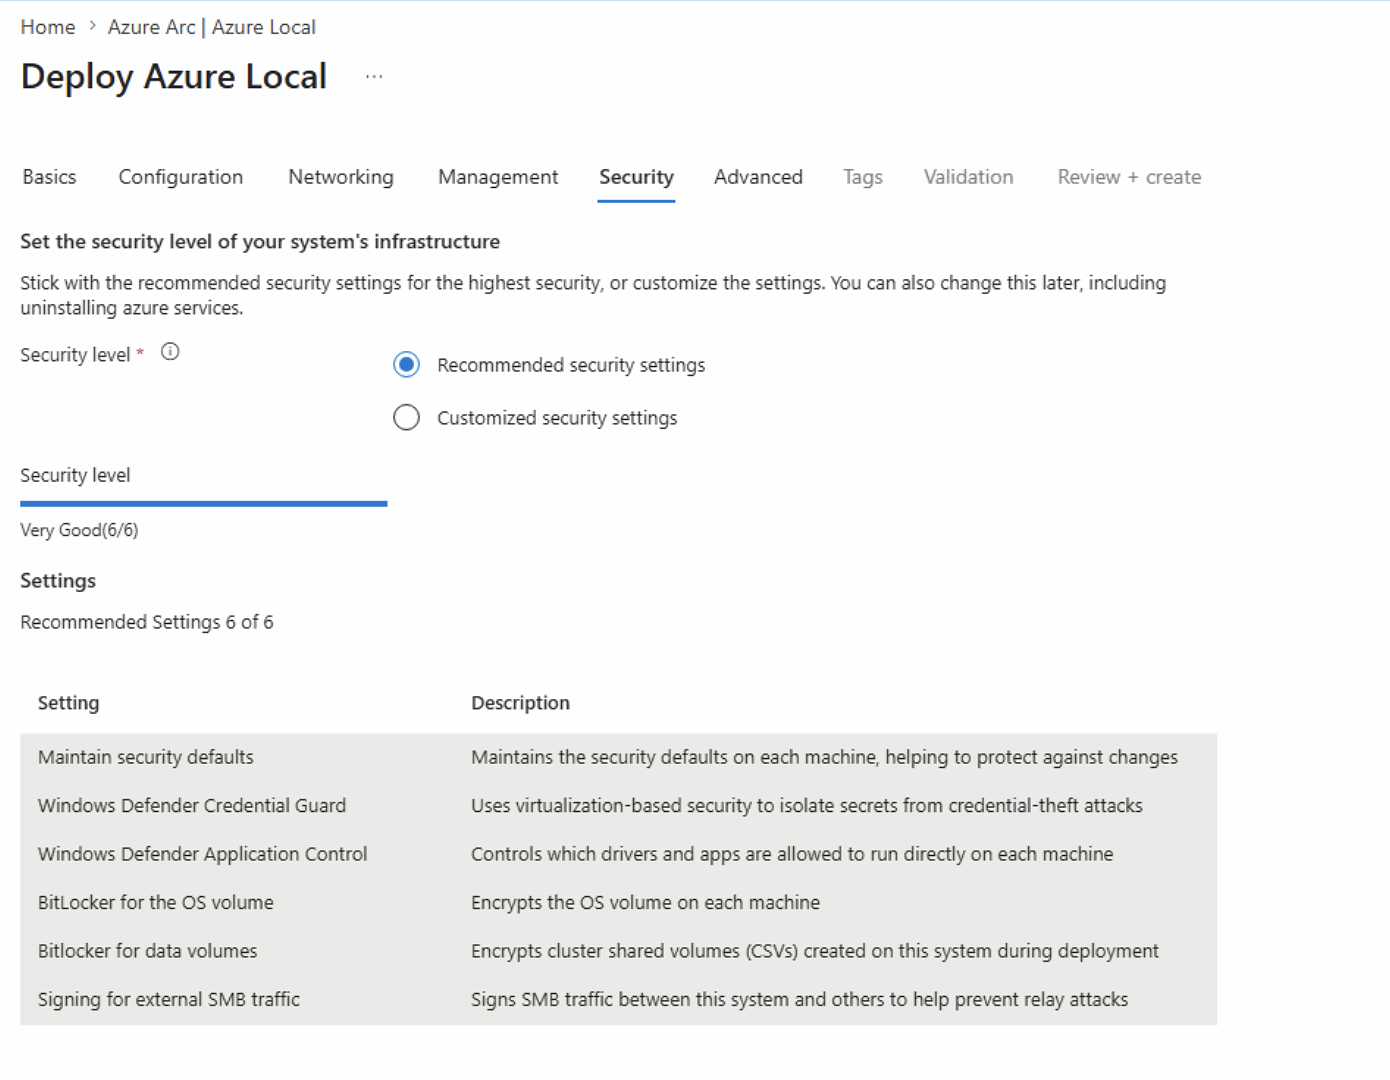 9.
9.
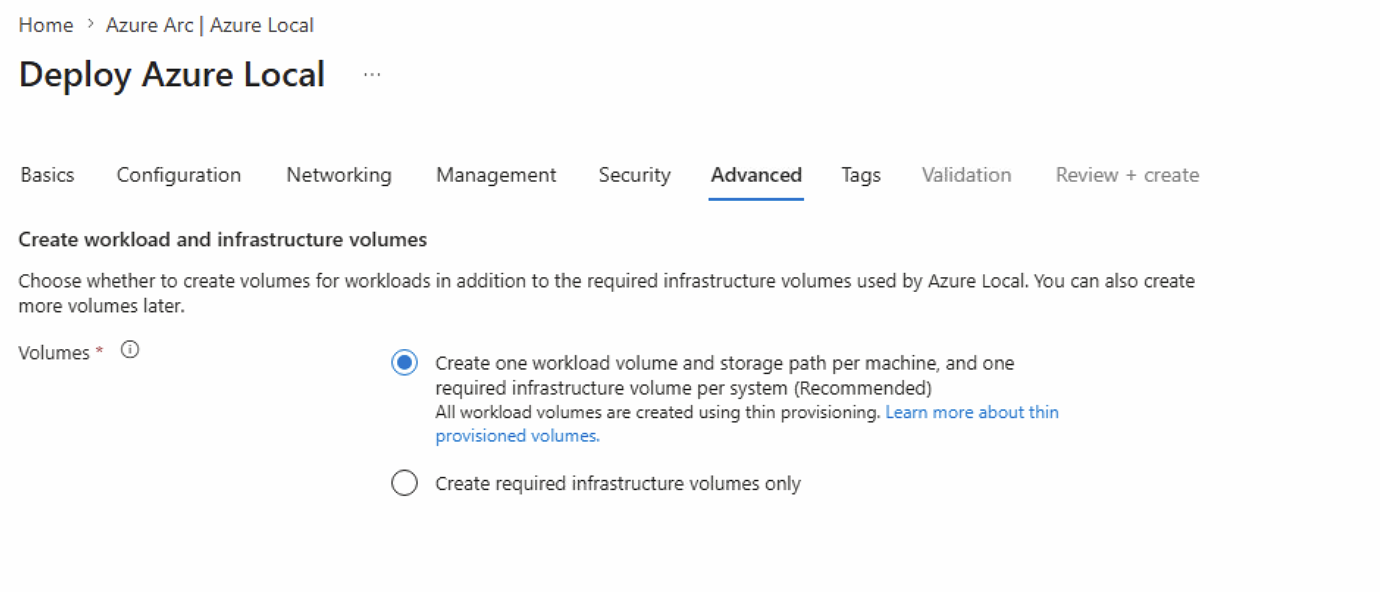
Have feedback on this post?
Send me a message and I'll get back to you.