Azure Local - How to connect to Kubernetes cluster
- Intro
- Prepare
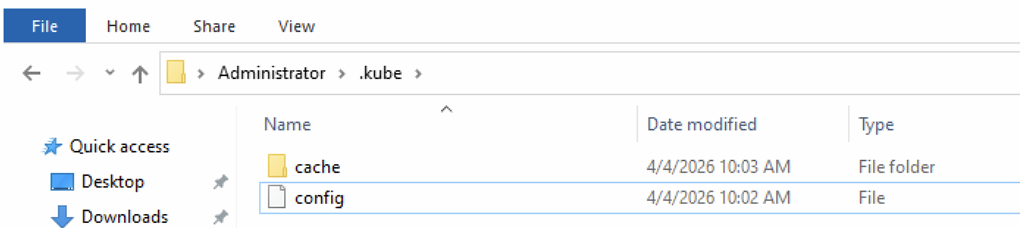
- Generate kube config
- Prepare YAML file for SPN bearer token creation
- Generate SPN bearer token
- Get the token in base64 from the secret
- use the token in the Azure Portal
Intro
Having deployed my first Kubernetes cluster on Azure Local, I found it difficult to find exact and precise guidance on how to connect to the Kubernetes cluster and generate this SPN.
Microsoft do point to a guide on Microsoft Learn about generating the SPN bearer token, but how to make the initial connection to the Arc-enabled Kubernetes cluster? I hope you find this guide useful and that it will spare you some fooling around like I had to, figuring out how to connect.
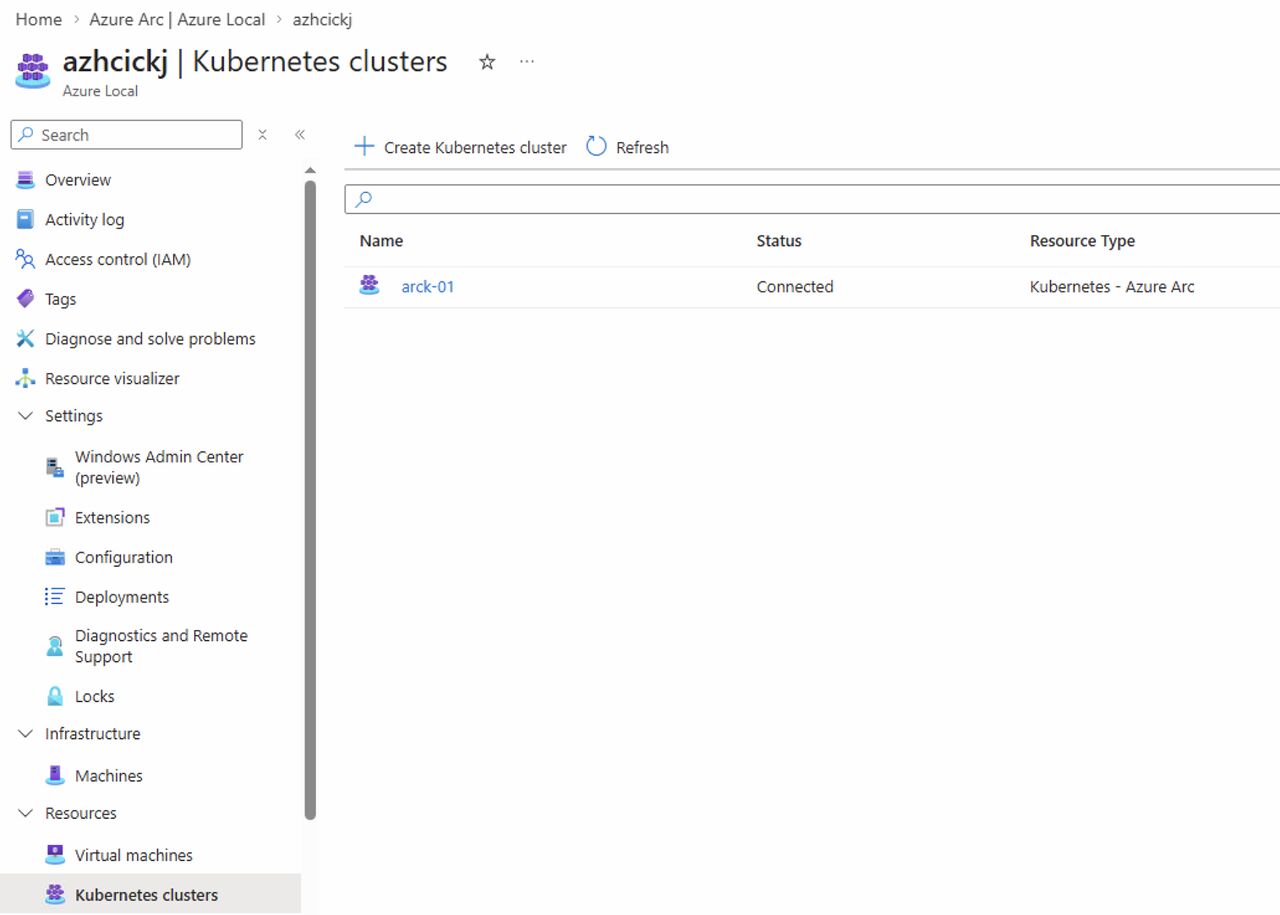
Below you can see my deployed Kubernetes cluster:
And because I had selected Local accounts with Kubernetes RBAC doing deployment:
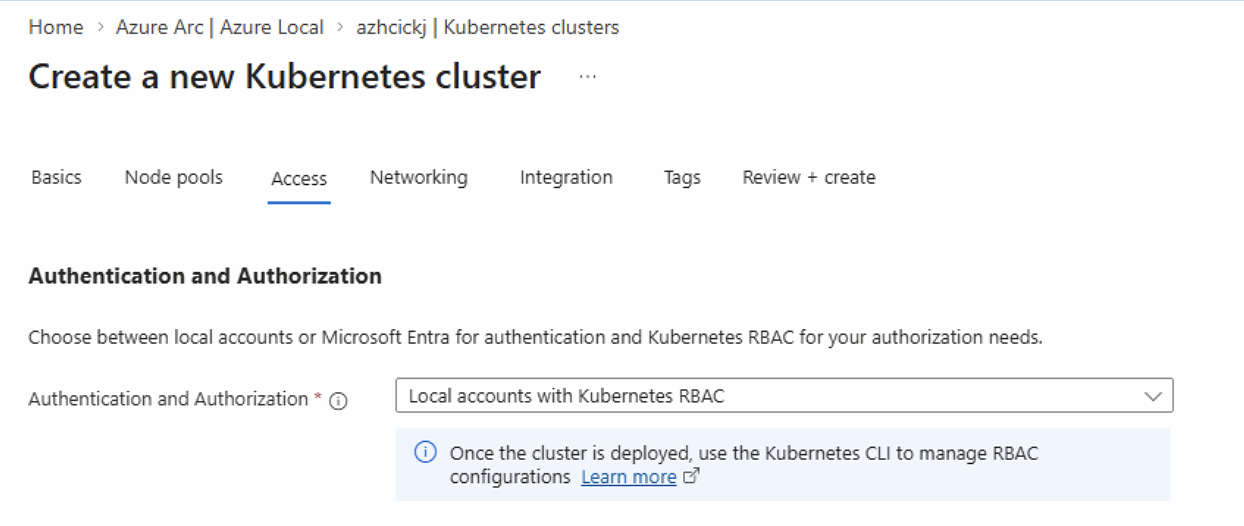
I now have to generate a SPN bearer token before I can browse Namespaces and Workloads from the Azure portal.
Prepare
HINT:
I use PowerShell for this guide. Some of the official Microsoft Learn documentation expect you are using Bash, but is it not clearly mentioned
Install Az CLI
If you do not have Az CLI installed already, you can install it using this guide:
- Open PowerShell as Administrator
- Run this command:
Invoke-WebRequest -Uri https://aka.ms/installazurecliwindows -OutFile .\AzureCLI.msi - Run this command:
Start-Process msiexec.exe -Wait -ArgumentList '/I AzureCLI.msi /quiet' - Restart PowerShell and verify by running this command:
az version
Connect to Az CLI
Use this command to connect to Az CLI: az login
Use this command to change context - you must be on the subscription your Kubernetes cluster is deployed to: az account set --subscription "<subscription-id>"
Define parameters
We are going to use some basic parameters in our PowerShell session. Change these to fit your setup and paste them into your PowerShell session:
$CLUSTER_NAME = "arck-01"
$RESOURCE_GROUP = "rg-CKJ-AZL-LAB-westeurope"
$ARM_ID_CLUSTER=$(az connectedk8s show -n $CLUSTER_NAME -g $RESOURCE_GROUP --query id -o tsv)
Install required Az CLI extensions to PowerShell session
Run these commands to install:
az extension add --name aksarc
az extension add --name connectedk8s
Or if extensions are already installed, use these instead to ensure they are on the latest version:
az extension update --name aksarc
az extension update --name connectedk8s
Generate kube config
Use this command to generate kubeconfig. Be aware that a config file will be placed in the .kube folder of the user profile running the PowerShell session. This config file contains secrets and should be highly protected afterwards (HINT: delete it, you can always regenerate it next time you need it)
az aksarc get-credentials --resource-group $RESOURCE_GROUP --name $CLUSTER_NAME --admin
Prepare YAML file for SPN bearer token creation
We need to prepare a .yml file that kubectl will use to parse to the cluster for the token generation. Save this content to “spn-user-secret.yml” and note the full path of the saved file:
apiVersion: v1
kind: Secret
metadata:
  name: spn-user-secret
  annotations:
    kubernetes.io/service-account.name: spn-user
type: kubernetes.io/service-account-token
Generate SPN bearer token
Now we are ready to generate the SPN bearer token using these commands: (See the path of the spn-user-secret.yml file - remember to update before running command line 3)
kubectl create serviceaccount spn-user -n default
kubectl create clusterrolebinding spn-user-binding --clusterrole cluster-admin --serviceaccount default:spn-user
kubectl apply -f "C:\Users\ckjadmin\Desktop\spn-user-secret.yml"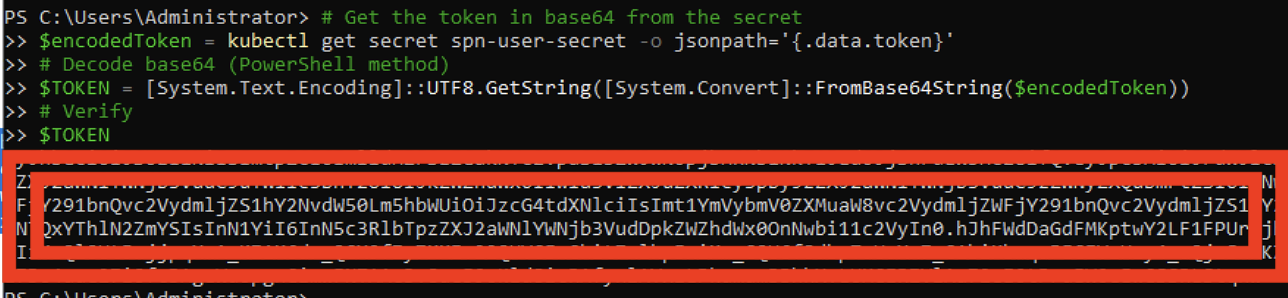
Get the token in base64 from the secret
$encodedToken = kubectl get secret spn-user-secret -o jsonpath='{.data.token}'
# Decode base64 (PowerShell method)
$TOKEN = [System.Text.Encoding]::UTF8.GetString([System.Convert]::FromBase64String($encodedToken))
# Verify and display token
$TOKEN
Take note of the bearer token, you will need it in later step
HINT:
Save the SPN bearer token in a secure location like a KeyVault. You will need this token every time you visit the Kubernetes Resources area of the Kubernetes cluster from Azure portal.
use the token in the Azure Portal
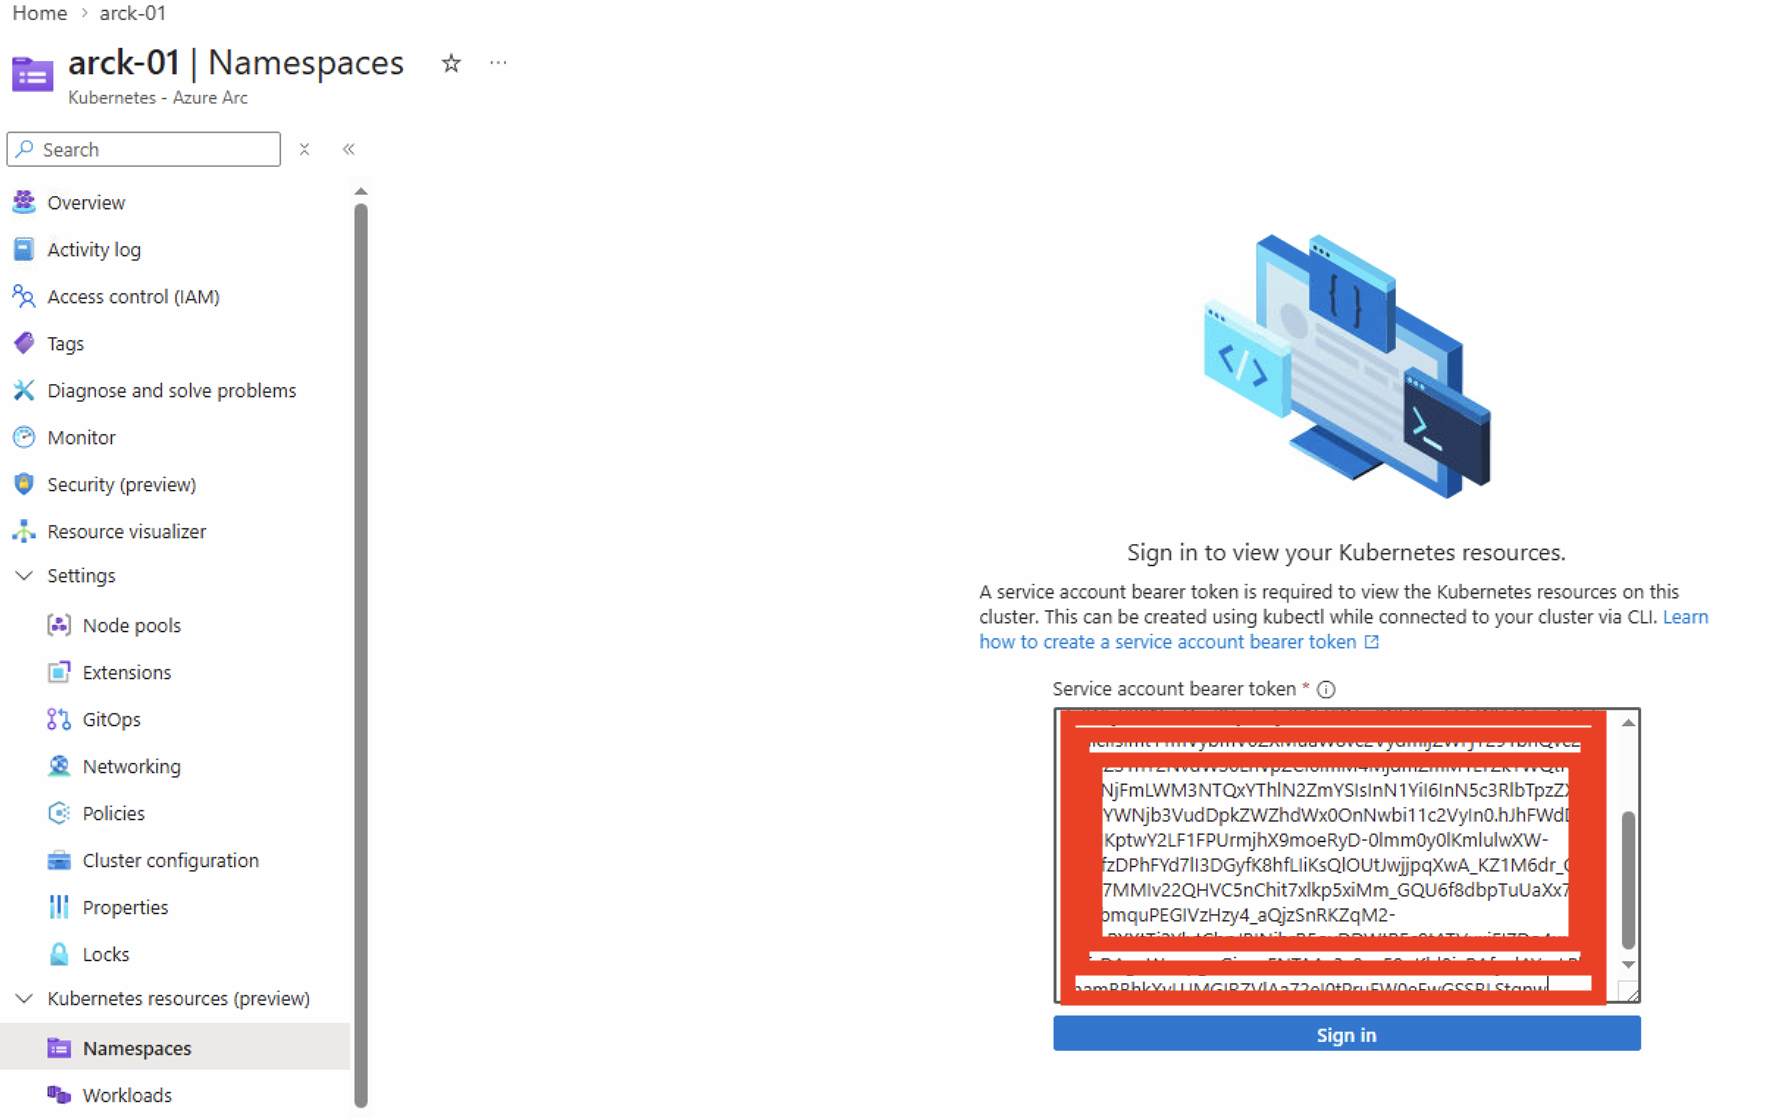
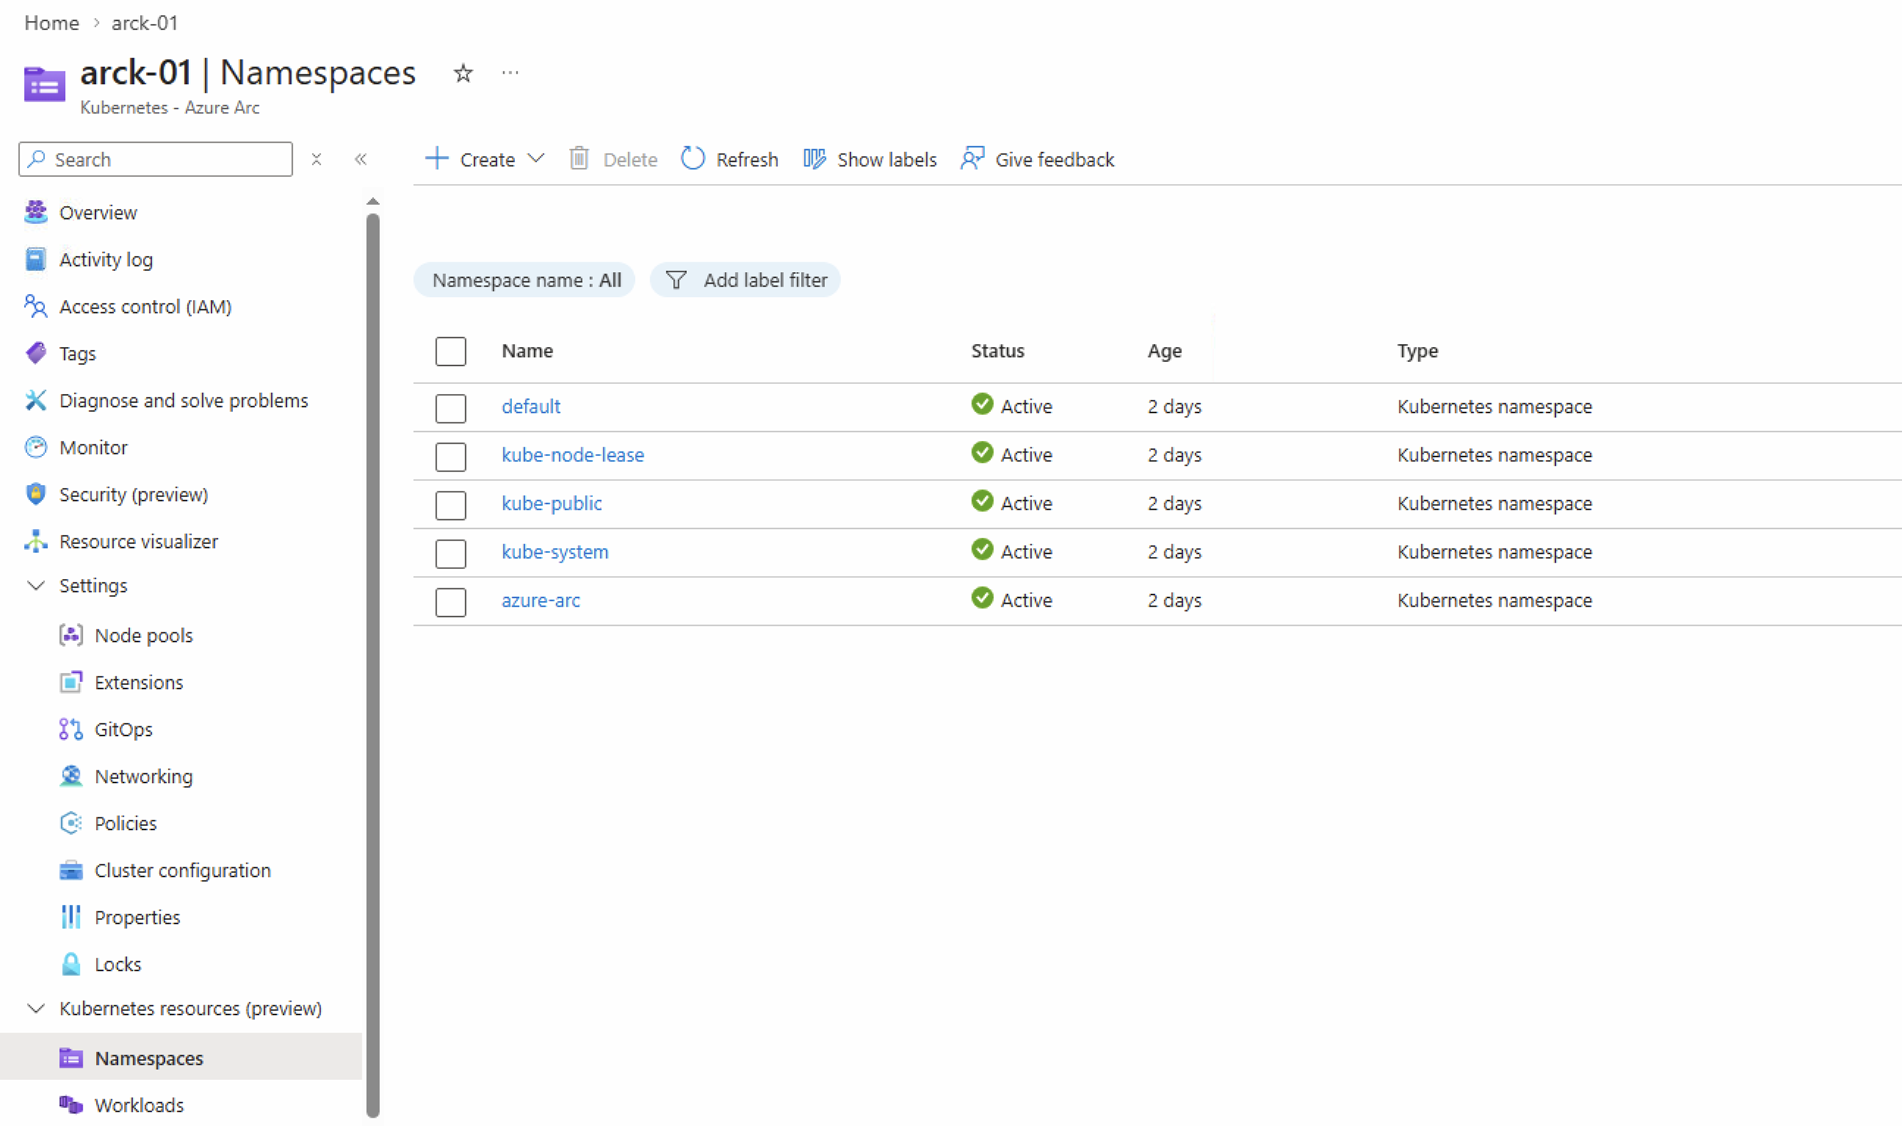
Back to Azure Portal, locate the Kubernetes cluster and select Namespaces, now insert the bearer token.
After inserting the bearer token, you can see Namespaces:
HINT:
Next time you visit this page, you have to insert the token again. That is why I mentioned you should store the token in a KeyVault so you can easily load and insert the token next time.
Have feedback on this post?
Send me a message and I'll get back to you.