Azure Local - WDAC - Part 2 - Create a custom supplemental policy for approved software
- Intro
- Prerequisites
- Optional - Download WinDirStat installer for testing
- Check current WDAC mode
- Install WinDirStat from the Downloads folder
- Create a supplemental policy from
- Set policy metadata and version
- Deploy supplemental policy to Azure Local
- Return to enforced mode and validate
- Recommendation
Intro
This article is part of a series: Navigate to series page
On Azure Local, WDAC (Windows Defender Application Control) is a strong baseline protection, but most of us still need to allow selected third-party tools for operations and troubleshooting. For example purpose I will use WinDirStat.
In this second article of the series, I will show how to create and deploy a custom supplemental WDAC policy so WinDirStat can run from C:\Program Files\WinDirStat\ on each Azure Local node.
Prerequisites
Before you start, make sure:
- Your Azure Local cluster is deployed and healthy.
- You can connect to a node with local admin or
AzureStackLCMUsercredentials. - You reviewed the official Microsoft guidance: Manage Application Control for Azure Local.
Optional - Download WinDirStat installer for testing
If you want to test this quickly, download the latest WinDirStat installer to the logged-in user’s Downloads folder:
Invoke-WebRequest -Uri "https://github.com/windirstat/windirstat/releases/latest/download/WinDirStat-x64.msi" -OutFile (Join-Path ([Environment]::GetFolderPath('UserProfile')) "Downloads\WinDirStat-x64.msi")Check current WDAC mode
From an elevated PowerShell session on one Azure Local node, check the current policy mode:
Get-AsWdacPolicyMode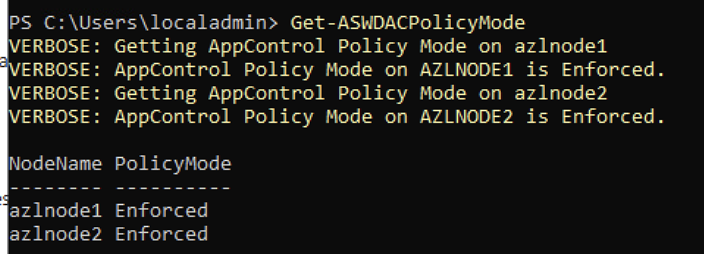
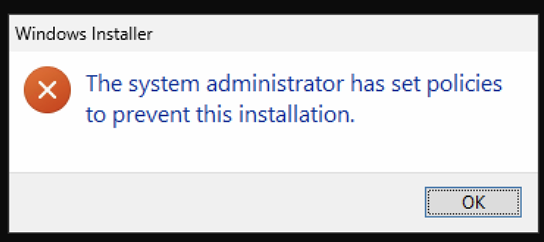
While in enforced mode, the installer will not run:
If your cluster is in Enforced mode, switch to Audit mode while preparing and validating the new supplemental policy:
Enable-AsWdacPolicy -Mode AuditHINT The mode change is orchestrated cluster-wide and can take a couple of minutes.
Install WinDirStat from the Downloads folder
After WDAC is in Audit mode, run the installer from your user’s Downloads folder:
Set-Location (Join-Path ([Environment]::GetFolderPath('UserProfile')) 'Downloads')
.\WinDirStat-x64.msi
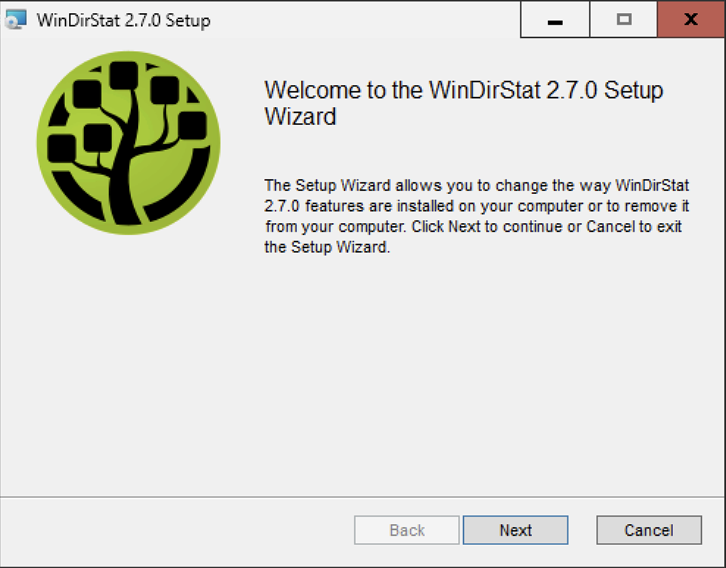
Complete the setup wizard and confirm that WinDirStat is installed to C:\Program Files\WinDirStat\.
Create a supplemental policy from C:\Program Files\WinDirStat\
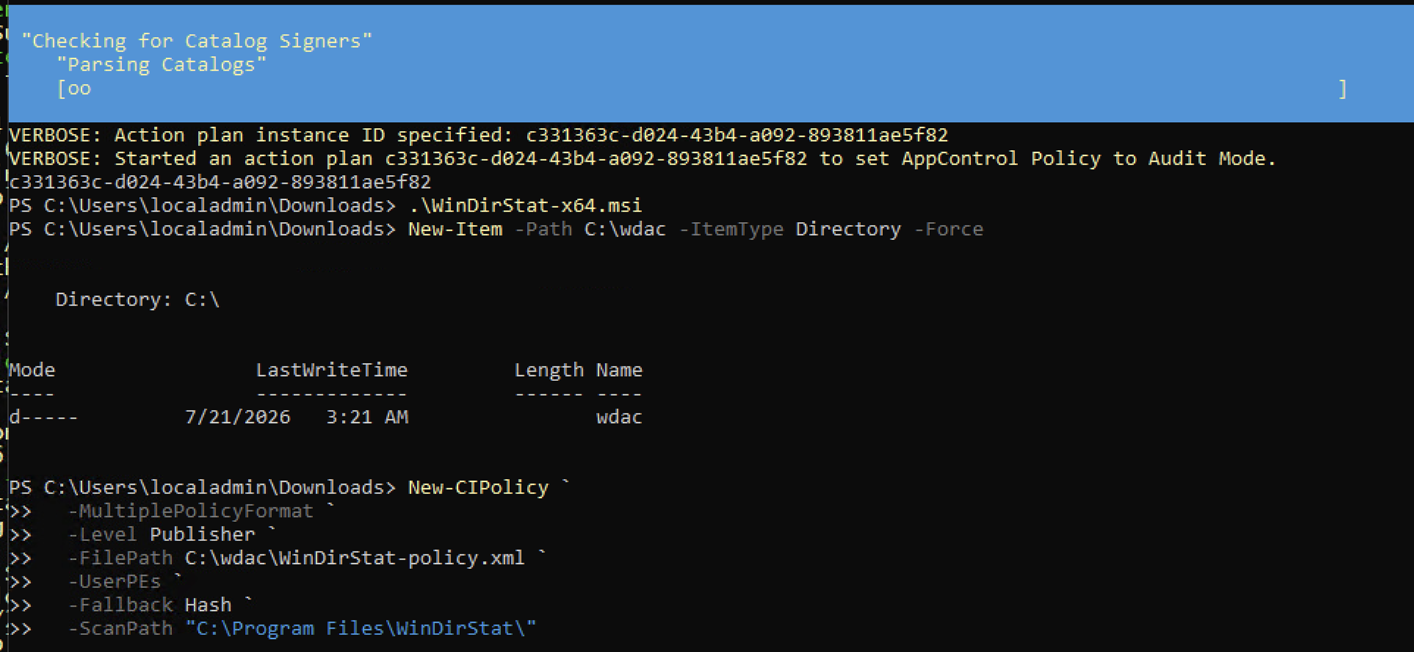
Create a working folder and generate a new policy in multiple policy format:
New-Item -Path C:\wdac -ItemType Directory -Force

New-CIPolicy `
  -MultiplePolicyFormat `
  -Level Publisher `
  -FilePath C:\wdac\WinDirStat-policy.xml `
  -UserPEs `
  -Fallback Hash `
  -ScanPath "C:\Program Files\WinDirStat\"
This scans the WinDirStat folder and creates allow rules based on publisher info (and file hash fallback where needed).
Set policy metadata and version
Set clear metadata so it is easy to identify and maintain the policy later:
$policyPath = "C:\wdac\WinDirStat-policy.xml"
$policyVersion = "1.0.0.0"

Set-CIPolicyVersion -FilePath $policyPath -Version $policyVersion
Set-CIPolicyIdInfo -FilePath $policyPath -PolicyID "WinDirStat-Policy_$policyVersion" -PolicyName "WinDirStat-Policy"
Deploy supplemental policy to Azure Local
Deploy the policy across the Azure Local nodes:
Add-ASWDACSupplementalPolicy -Path C:\wdac\WinDirStat-policy.xml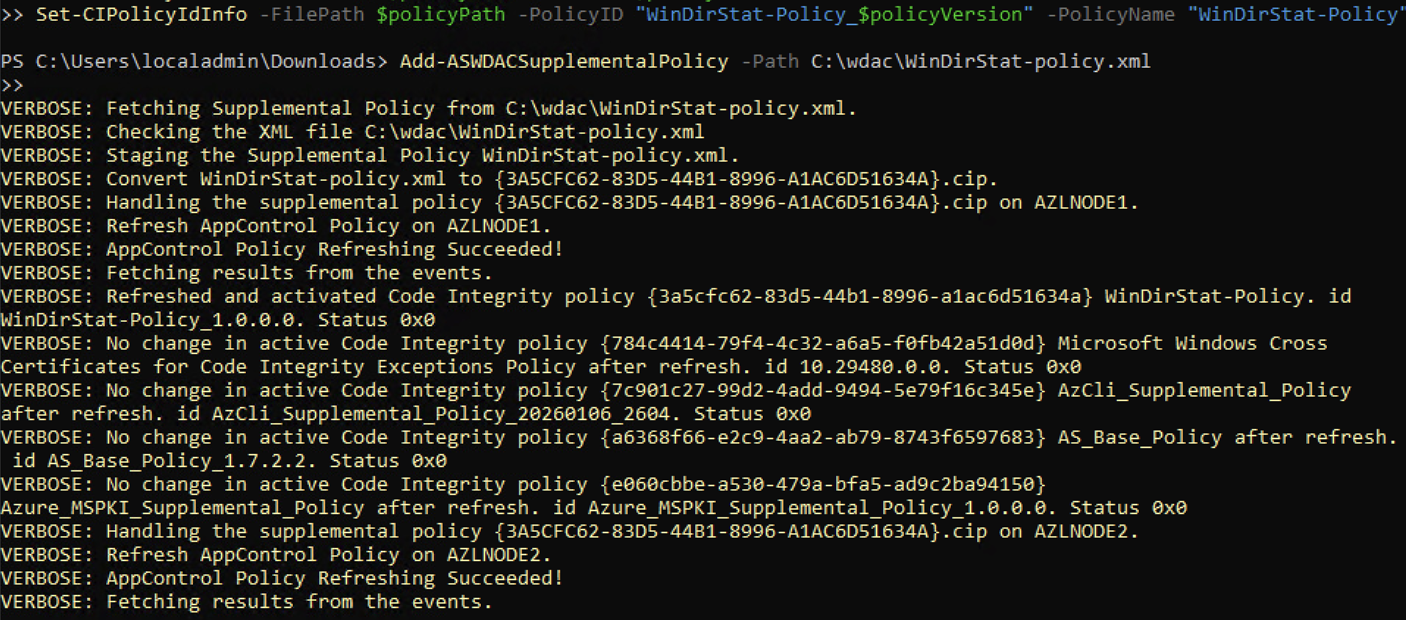
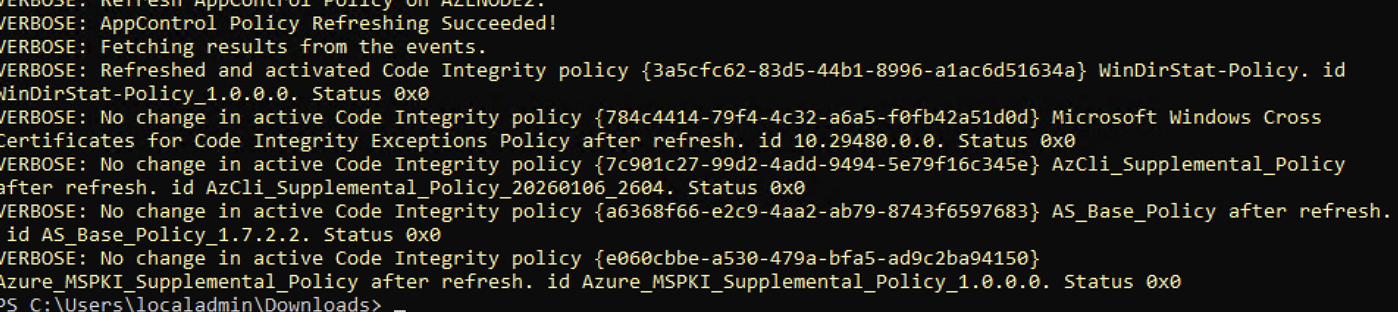
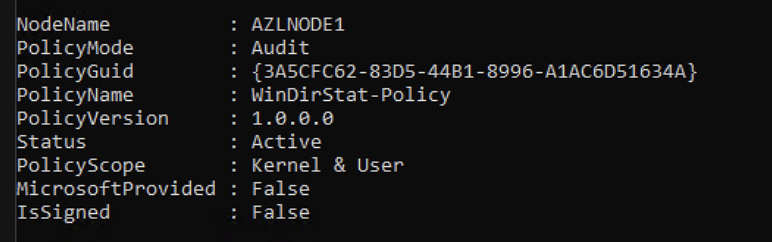
Then verify it is present:
Get-ASLocalWDACPolicyInfoYou should see both the Microsoft-provided base policy and your custom WinDirStat-Policy.
Return to enforced mode and validate
When validation is done, switch back to enforced mode:
Enable-AsWdacPolicy -Mode EnforcedAllow WADC to switch to enforced, it can take several minutes.
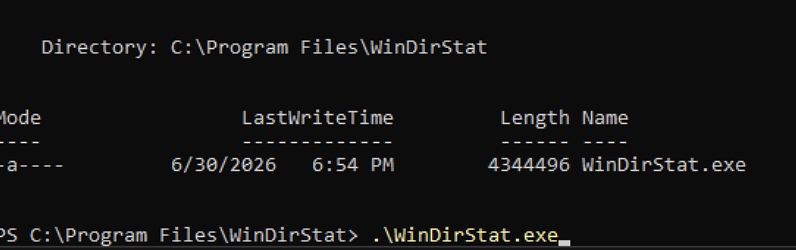
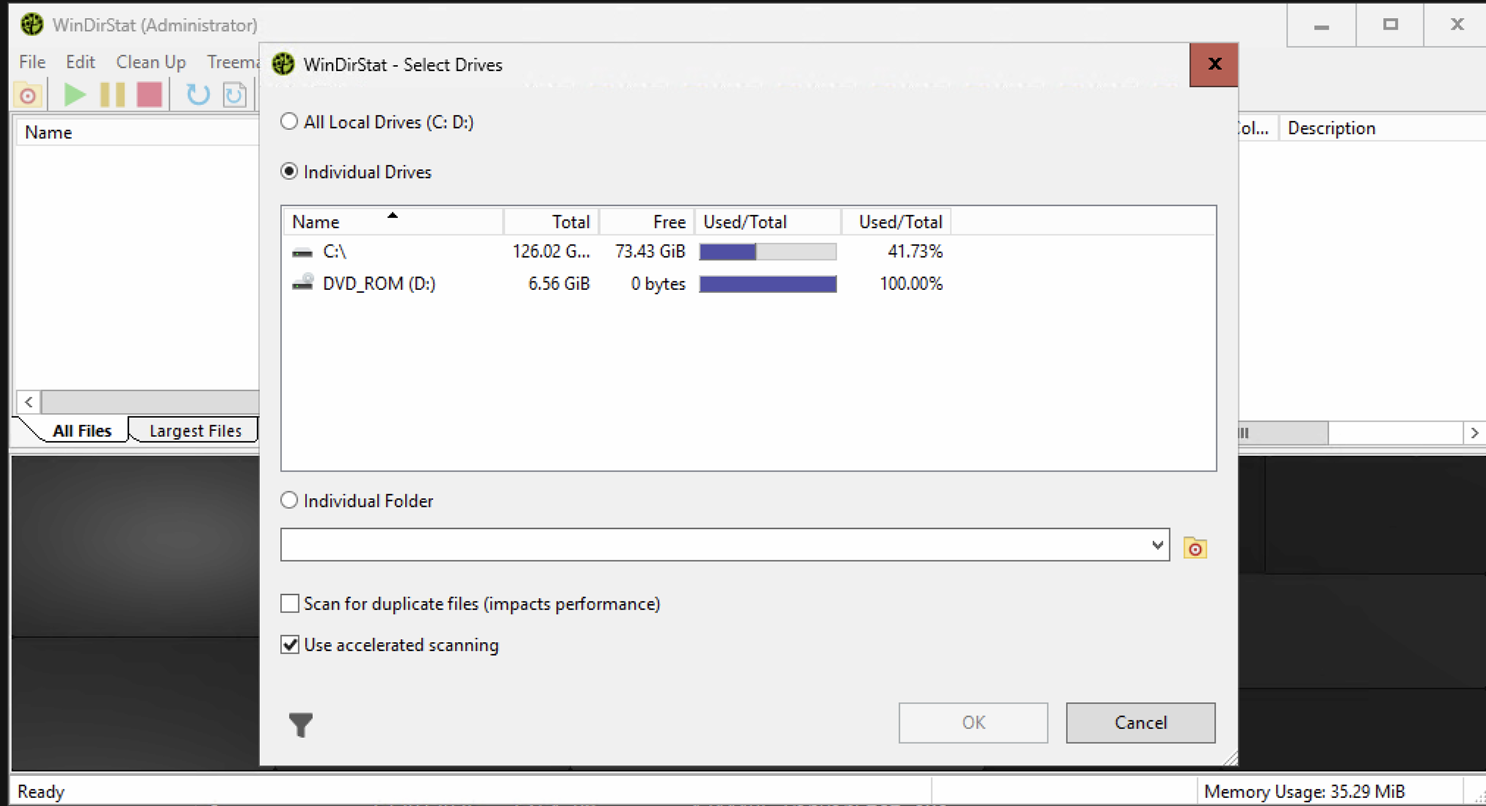
Then run WinDirStat from C:\Program Files\WinDirStat\ on each node to confirm it starts without WDAC block events.
Recommendation
Keep each third-party tool in its own dedicated folder path and create separate supplemental policies per tool. This makes updates, rollback, and troubleshooting much easier over time.
For deeper WDAC background on supplemental policies, see: Use multiple WDAC policies and supplemental policy creation.
Have feedback on this post?
Send me a message and I'll get back to you.